Acne is a very common problem many of us face. Just like how dry skin is a problem, oily skin is a problem too. The only difference is, with oily skin, you are faced with acne and pimples. Want to know how to get rid of them?
Say Hi to Moroccan Red Clay Anti-Acne Mask!
Want to know how to do it? Don’t you think Moroccan Argan Oil and Moroccan Red Clay make a good combo?
One way to curb or fight acne and pimples is using clay masks. What’s better than Moroccan red clay for this purpose? It absorbs excess oil, dirt and grime from your face and leaves your skin soft and supple.
Have you ever wondered if preparing clay facial at home works? Are you tired of that store bought ones that don’t work or leave your skin parched and lifeless? Do you think you want a mask that works and you know what goes in? You must love DIY recipes, as you are here! So, let’s get to today’s recipe. Shall we?
Ingredients
Argan Oil – a few drops
Moroccan Red Clay – 2 Tsps.
Rose Water – 6 Tsps.
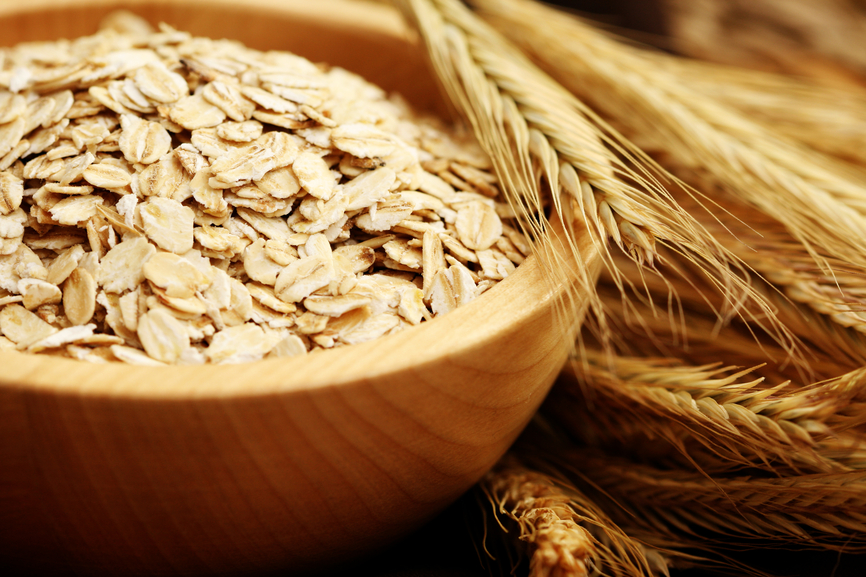
Ground Oatmeal – 4 Tsps.
Avocado (Mashed) – ½ Tbsp.
Method
In a mixing bowl, combine all the ingredients and mix well.
It should form a paste like, sticky and creamy consistency.
Your Moroccan Mask is Ready!
Usage
As always, start off with a clean face.
You can use our simple face wash to wash your face. Pat dry.
Now, massage the mask and leave out the mouth and eye area.
Massage so your skin absorbs the nutrients and goodness of the facial.
Let it sit for about 7 – 15 minutes.
Wash off and pat dry.
You might not need a moisturizer, though you can follow up with our Argan Body Oil for restoring moisture, if it feels dry.
When to Wash Off?
This is one question that irks many! When is the right time to wash off a clay mask? Different people have different opinions and many say they love letting it sit till it is fully dry and begins to fall off. But what’s the right way?
Generally, when you apply a facemask, the first phase is where the nutrients are absorbed into the skin – the time you are massaging the mask. The second phase is when the excess oil, dirt and grime and expelled or absorbed by the mask. This is when the mask begins to dry and lighten, but is still moist. The third phase is where the mask is fully dried and absorbs moisture and luster from your skin, leaving it lifeless and dull.
Yes, you guessed it right! You must wash it when it reaches the second phase – the time it begins to dry, but still feels moist when you touch it.
Only when you wash off during this phase, you get the goodness of clay mask, without drying out your skin. If you always thought clay masks left you dry, now you know the reason! Do it the right way, to get optimum benefits.
What’s with the Ingredients?
All the ingredients listed here are quite common and we have used them in multiple recipes out here.
This recipe is a balanced one, which will suit individuals with any skin type and with slight variations, can do wonders for everyone. It does not leave your skin dry, or overtly oily, thanks to the ingredients that are chosen with care and caution.
Tweaking the Recipe
Red Moroccan Clay is also called Rhassoul Clay, Moroccan Lava Clay, Red Clay, etc. If you don’t get Moroccan Red Clay, you can check here for other beneficial facial clay types.
A few drops of Argan Oil is all you need this recipe, though you can increase it when you have normal or combination skin. If Argan Oil is pricey for you, you can add just a drop or two, and substitute the rest with Jojoba or Apricot Oils.
As always, feel free to make changes to suit your skin and feed us back with your results. Stay tuned for more DIY recipes and interesting tips for hair and skincare. Don’t have time for DIY recipes? We have you covered with Vitamins Skin Care Kit at Amazon! Feel free to check our other products too!

